Computer Building Guide
Once you get all of your parts you will need to start building your new computer. The first thing that you will want to do will be to install your motherboard in your case. There should be case screws included in the new motherboard box. There should also be a metal plate with a cutout of your new motherboard. The case may already have one in it and it may need to be removed if your motherboard is a different style. To remove it you should be able to pop it out by pressing inward towards the inside of the case, to install the new one you do the opposite. You will also notice that there are holes in the case and gold screws with a square top in your bag of screws. These gold screws will screw into the holes inside the case. You will need to see what holes line up with your motherboard and then put the gold screws into them. Once this is done you can install the motherboard and screw it down.
 The next step will be to plug in the cables that come from the power and reset switch. They should be labeled and if you look in your motherboard manual it will show you where they go on the motherboard.
Once you have you power switch hooked up you will want to install you RAM. This is fairly straightforward. If you look at the RAM there is a slot in the middle, one side is slightly longer than the other side, this should match up with the slot on your motherboard. Before you install the RAM you will need to open the 2 white clips on each side of the slot. Once the orientation is correct press the stick of RAM straight down until you hear a click and both white tabs close.
Next will be the processor and the heatsink. The newer processor are pin less, to insert it into the motherboard correctly you can look at the underside of the processor, there should be 2 gold arrows, they should line up with the motherboard. After the processor is inserted you will want to close the metal door and clip it down with the metal arm that is attached. You will then need to put a small spot of heatsink compound that should have been sent with your processor and heatsink. Next you need to line up the 4 screws on the heatsink with the four holes on the motherboard. Once this is done you can press the white tabs down until they click.
Once this is all done you will want to install your hard drive and your DVD/RW. the hard drive should slide into the bay from the inside and then you can use the same screws that you used to screw down the motherboard. The DVD/RW drive will be inserted from the outside and will be screwed in the same as the hard drive was. The hard drive and the DVD/RW will have one of 2 cables, one will be a skinny red cable and the other one will be a ribbon cable with 80 pin holes. You need to connect these from the drive to the motherboard.

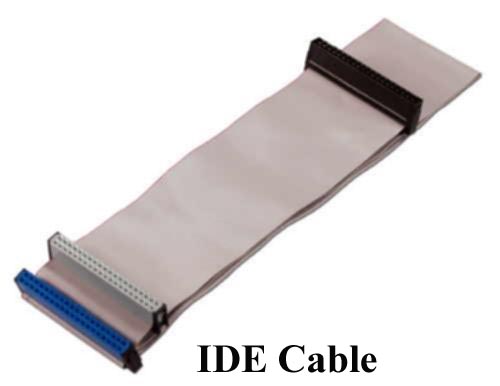
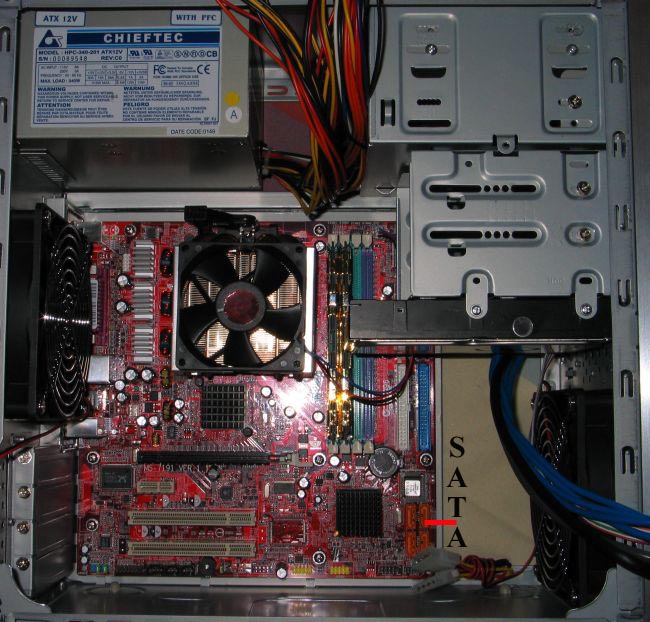
The motherboard above only has IDE connectors on it, most of the new boards will have at least one IDE port and anywhere from two to four SATA ports. The picture below is a motherboard fully assembled and it also has SATA connectors on it.
 Now that you have your computer put together you are ready to install your operating system. If you would like information on what type of operating system is best for you please visit the FAQ section of this website. For instruction on how to install your operating system you can follow this link: